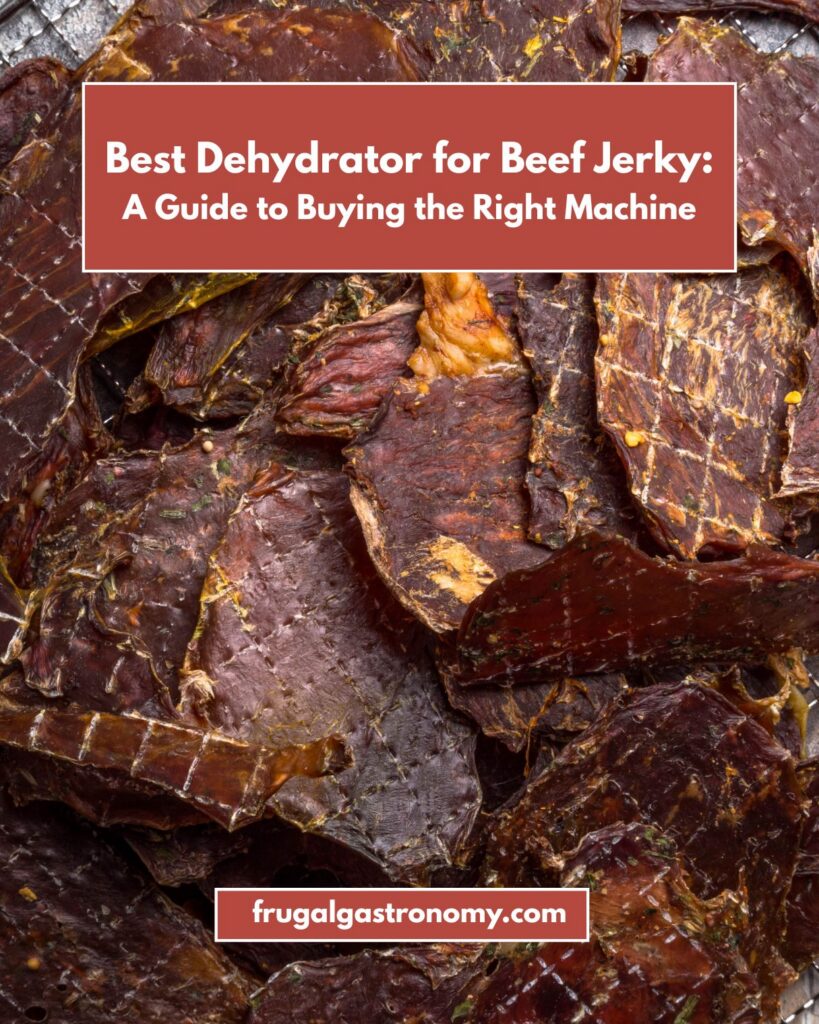
Making beef jerky at home is one of those deeply satisfying kitchen projects that pays for itself remarkably fast. A pound of store-bought jerky can easily run you $15 to $25 depending on the brand. Make it yourself and you’re looking at a fraction of that cost per ounce, with complete control over your marinade, your spice level, your salt content, and exactly what goes into your food. The catch, of course, is that you need the right machine to do it well.
The good news is that the dehydrator market has matured considerably, and there are genuinely excellent options available on Amazon across every budget tier. The challenge is that not every dehydrator is built with beef jerky in mind. The differences between a machine that makes perfect jerky and one that leaves you with rubbery, unevenly dried strips come down to a handful of specific technical factors that most product listings don’t explain particularly well.
This guide breaks down what those factors actually are, and which dehydrators available on Amazon in 2026 perform best for home cooks who want to make great beef jerky without overcomplicating it.
Frugal Gastronomy is an Amazon Associate and earns from qualifying purchases made through links in this post. The price you pay does not change.
What to Look for in a Beef Jerky Dehydrator
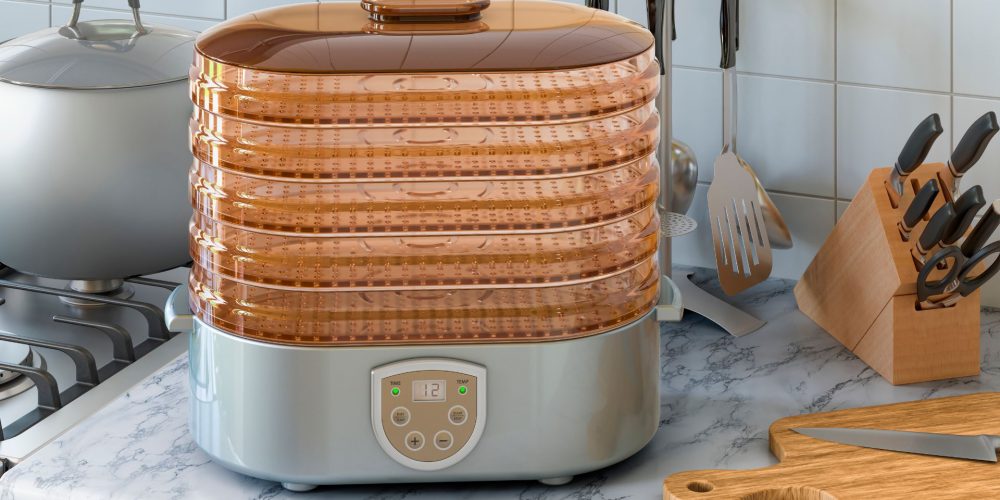
Before getting into specific model recommendations, it’s worth understanding what separates a jerky-capable dehydrator from one that’s merely marketed as one. The specs that genuinely matter are temperature ceiling, airflow direction, tray material, and capacity, roughly in that order.
Temperature: The Non-Negotiable Factor
The USDA recommends that beef jerky reach an internal temperature of 160°F to ensure that harmful bacteria like E. coli and Salmonella are eliminated. This is not optional, and it’s where many cheaper dehydrators quietly fail. A machine that tops out at 155°F or that advertises a temperature but doesn’t actually maintain it consistently through the drying cycle is a food safety liability. When shopping, look specifically for dehydrators that reach at least 160°F, and ideally 165°F or higher, to give yourself a genuine safety buffer. The USDA safety threshold is the floor, not the ceiling.
Airflow Direction: The Difference That Changes Everything
This is the technical detail that most home cooks learn only after a frustrating first batch. Dehydrators use either a vertical airflow system (fan mounted at the bottom or top) or a horizontal airflow system (fan mounted at the rear). In a vertical system, air travels up or down through a stack of trays, which means the trays closest to the fan dry significantly faster than those furthest from it. For jerky specifically, this creates uneven results: some strips overdry while others remain dangerously underdone at the center.
Rear-mounted horizontal airflow solves this problem cleanly. Hot air blows evenly across every tray simultaneously, which means every strip of meat dries at the same rate regardless of where it sits in the machine. You don’t need to rotate trays, babysit the machine, or pull individual pieces early. For home cooks who want a “load it and come back” experience, horizontal airflow isn’t just a preference but a meaningful practical advantage.
Tray Material: Stainless Steel vs. Plastic
Budget dehydrators often come with plastic trays, and while they work well enough for fruits and vegetables, they present some real drawbacks for meat. Plastic trays can absorb odors from marinades over time, are harder to sanitize thoroughly, and some lower-grade plastics can warp with repeated exposure to higher temperatures. Stainless steel trays cost more, but they’re dishwasher-safe, odor-resistant, and built to last years of regular use without degrading. If you plan to make jerky regularly rather than just occasionally, stainless steel trays are worth paying for.
Capacity: Being Realistic About Batch Size
A dehydrator’s “capacity” is usually advertised in either number of trays or square footage of drying space. For most home cooks making jerky for personal use or a small household, 5 to 6 trays (roughly 5 to 7 square feet) is plenty for a 2 to 3 pound batch of raw meat, which yields about 1 pound of finished jerky. If you’re the kind of person who wants to make large batches on weekends and stock up for the month, stepping up to 8 to 11 trays makes more sense. Be honest with yourself about how much counter space you have and how often you’ll actually use the machine.
The Best Dehydrators for Beef Jerky
Best Overall: COSORI Premium 6-Tray Food Dehydrator
For the vast majority of home cooks, the COSORI Premium 6-Tray is the most balanced, well-rounded dehydrator on Amazon right now. It checks every box that matters for beef jerky: a rear-mounted horizontal fan, stainless steel trays, precise digital temperature control adjustable in 1°F increments up to 165°F, and a 48-hour timer with auto-shutoff that lets you run it overnight without worry.
What makes the COSORI particularly compelling is how thoughtfully it’s designed for real-world kitchen use. The glass door lets you monitor your jerky’s progress with a quick glance without opening the machine and releasing heat. The trays slide in and out smoothly rather than stacking, which makes loading and unloading strips of marinated meat significantly less messy. Multiple reviewers and independent testing sites consistently report that the COSORI maintains temperature accuracy within two degrees of the setpoint throughout the entire drying cycle, which is genuinely impressive in this price range and matters a great deal for food safety consistency. It’s also compact enough at roughly 14 by 11 by 9 inches to fit on most kitchen countertops without dominating them.
The trays are dishwasher-safe, which is a bigger deal than it might sound after you’ve spent six hours dehydrating heavily marinated flank steak. One practical note for sticky, sugary marinades like teriyaki: consider picking up a set of silicone mesh liner sheets, as the wire grates can cause strips to adhere and make cleanup more intensive.
Best for: Home cooks who want a reliable, food-safe, no-fuss experience and plan to make 2 to 3 pound batches regularly.
Best Budget Pick: COSORI Compact 5-Tray Food Dehydrator
If you’re newer to making jerky and want to try the process before committing significant money to equipment, COSORI’s compact 5-tray model is the most sensible starting point on Amazon. It tops out at 165°F, safely meeting the USDA threshold, has a 48-hour digital timer, and uses the same 1°F-increment temperature control as its larger sibling. The trays are BPA-free and the design is genuinely easy to use for a beginner.
The trade-offs are worth knowing upfront: this model uses a bottom-mounted fan rather than a rear-mounted one, which means airflow is less uniform across all five trays. In practical terms, you may find the bottom trays drying faster than the top ones, and rotating the trays halfway through a cycle helps ensure even results. It’s a minor inconvenience for an entry-level price point, and the machine otherwise performs well for its cost. Think of it as a great learning tool that lets you develop your marinade recipes and slicing technique before deciding whether to upgrade.
Best for: First-time jerky makers or occasional weekend cooks who want to get started without a major investment.
Best Mid-Range Upgrade: Magic Mill Pro 7-Tray Food Dehydrator
The Magic Mill Pro represents a meaningful step up in build quality and temperature range for home cooks who’ve graduated past the beginner stage. Its rear-mounted 600W fan delivers the even horizontal airflow you want for consistent batch results, and its temperature range extends all the way to 176°F, giving you more headroom above the safety threshold than most comparable machines. The 48-hour timer and auto-shutoff work exactly as advertised, and every surface that contacts food is stainless steel, including the interior walls of the unit, which makes for both easier cleaning and greater long-term confidence.
The Magic Mill Pro is also notably quiet during operation, which matters if you plan to run it overnight. It carries ETL safety certification, meaning it’s been independently tested and verified to meet electrical safety standards. That’s a detail worth noting for a machine you might leave running unattended for 6 to 8 hours at a stretch.
Best for: Home cooks who make jerky regularly, want more precise temperature control with genuine headroom above 165°F, and plan to process larger batches.
Best for Large Families or Serious Hobbyists: Excalibur 9-Tray Food Dehydrator
Excalibur has been making dehydrators in California since 1973, and the 9-tray model remains the benchmark that other manufacturers are measured against in the serious food preservation community. With 15 square feet of drying space and a patented horizontal “Parallexx” airflow system that distributes heat evenly across every tray, the Excalibur is built for people who dehydrate in volume: large families, hunters processing venison, and home cooks who buy beef in bulk and want to process it all at once.
The 26-hour digital timer and adjustable thermostat give you precise control, and the flexible polyscreen tray inserts are a genuine quality-of-life feature that prevents strips from sticking without requiring liner sheets. The machine is larger and heavier than the COSORI and Magic Mill options, so it needs dedicated counter or storage space. If capacity is your priority, however, nothing at this price point on Amazon comes close to what the Excalibur offers.
Best for: Serious jerky enthusiasts, large households, and anyone who wants a machine built to last a decade or more of regular use.
Key Questions Home Cooks Ask Before Buying
Do I need to pre-heat my jerky in the oven before dehydrating? Some food safety experts recommend pre-heating sliced meat in an oven at 275°F for about 10 minutes before the dehydrating cycle begins, as this ensures the internal temperature of the meat reaches 160°F before the long, lower-temperature drying phase starts. This is a particularly useful practice if your dehydrator runs on the cooler side. With a well-calibrated machine that reliably reaches 160°F or above, this step is less critical, but it adds an extra layer of certainty, especially for thicker cuts.
How long does it actually take? Drying time depends on your machine’s power, the thickness of your slices, how much liquid is in your marinade, and the humidity of your kitchen on the day you’re running it. As a general rule, strips sliced at ¼ inch typically take 6 to 8 hours at 160°F, while thinner ⅛ inch slices can be done in 4 to 6 hours. Your jerky is ready when it bends without breaking and shows no moist spots when torn in half.
Should I pat the meat dry before loading the trays? Yes, and this is one of the most impactful small habits you can develop. Excess marinade sitting on the surface of your strips significantly extends drying time and can cause pooling on the trays. A quick pat with paper towels before loading means the dehydrator is working on removing moisture from within the meat rather than dealing with a puddle on the tray surface first.
The Bottom Line
You don’t need to spend a fortune to make excellent beef jerky at home, but you do need to spend thoughtfully. The COSORI Premium 6-Tray is the clear starting recommendation for most home cooks. It’s reliable, food-safe, easy to use, and available on Amazon at a price point that makes sense for a machine you’ll use regularly. If you’re just starting out, the compact 5-tray COSORI entry model costs less than a few bags of premium store-bought jerky. And if you’re ready to go all-in, the Excalibur 9-Tray is the kind of machine that becomes a permanent fixture in your kitchen rather than a seasonal appliance.
Whichever model you choose, the math on homemade jerky is hard to argue with. The right dehydrator pays for itself in a few batches, and the jerky you make at home, with your own marinade and exactly the cut of beef you prefer, will be better than anything in a store bag every single time.