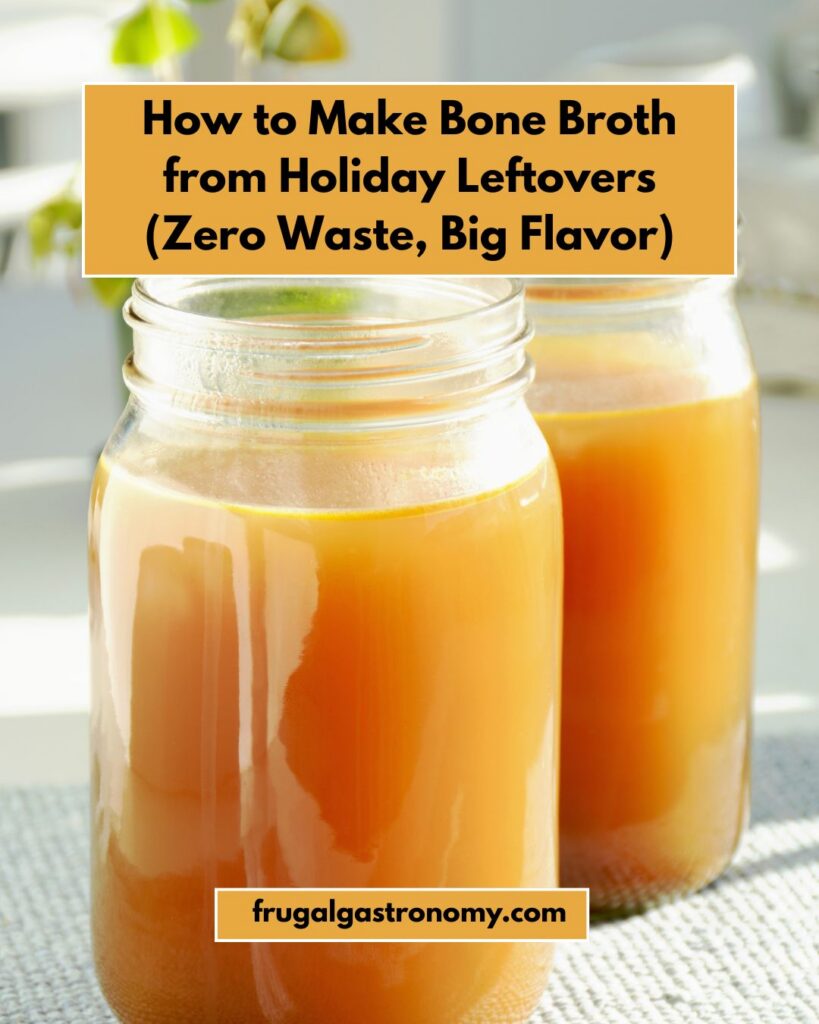
Bone broth made from holiday leftovers is not a new idea. It’s how generations of home cooks stretched a single roast into a week’s worth of meals, using every part of what they’d bought without waste and without compromise on flavor. A properly made turkey or chicken bone broth is richer, deeper, and more complex than anything available in a carton at the grocery store, and it comes entirely from ingredients that were already paid for and would otherwise be discarded.
The upfront cost of a batch of homemade holiday bone broth can be less than a dollar if you’ve saved your vegetable scraps, since the bones and water are the two non-negotiable components and everything else is optional.
This guide covers the entire process from start to finish: what to save, what to add, which cooking method suits your schedule, how to store what you make, and exactly how to use it once it’s ready.
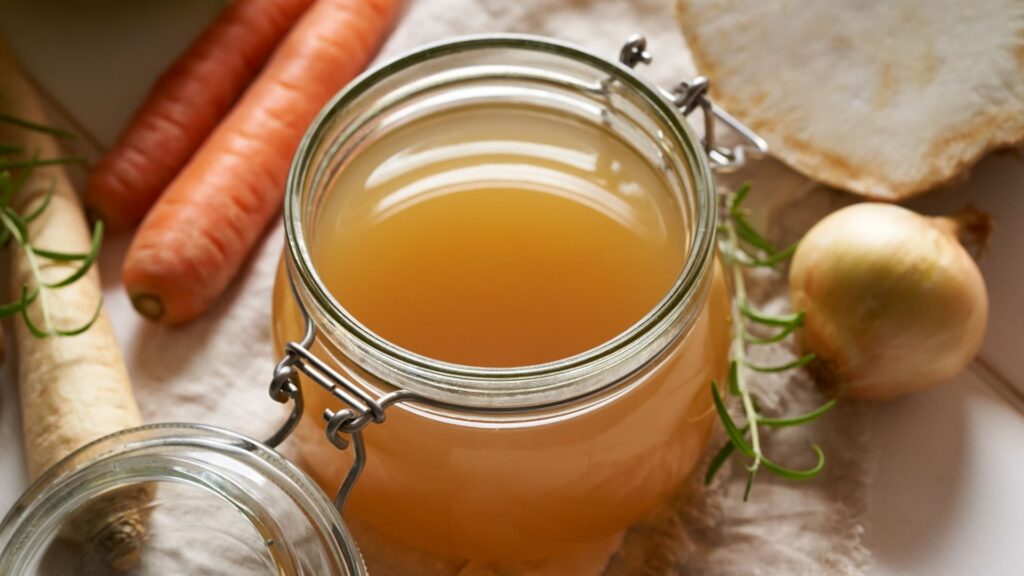
What Is Bone Broth and How Is It Different from Stock?
These two terms are often used interchangeably, and in a home kitchen context the distinction is minor enough that it doesn’t need to derail your cooking. That said, understanding the difference helps explain why the long cooking time matters and why the result is so much better than a quick stock.
Stock is typically simmered for two to four hours, producing a flavorful liquid primarily from the gelatin and collagen in the bones. Bone broth uses the same basic technique but extends the cooking time significantly, anywhere from eight to twenty-four hours depending on the method, which breaks down the connective tissue in the bones far more completely. The result is a liquid that is noticeably richer, more gelatinous, and higher in collagen, amino acids, and minerals than a shorter-cooked stock. A properly made bone broth will set to a jelly-like consistency when refrigerated, which is the sign that it’s loaded with the collagen and gelatin that makes it both nutritionally dense and culinarily superior as a cooking liquid.
For the purposes of this guide, the method produces something that falls solidly on the bone broth end of that spectrum: long-simmered, deeply flavored, and substantive enough to use as a base for soups, sauces, and braises, or to simply drink warm from a mug during the colder months when you want something nourishing without the effort of a full meal.
What to Save from Your Holiday Meal
The first and most important habit to build around holiday bone broth is knowing what to save before anything gets thrown away. Everything listed below contributes to the finished broth in a meaningful way, and almost all of it would otherwise go straight into the trash.
The bones themselves are the non-negotiable starting point. For turkey, this means the entire carcass after carving, including the spine, rib cage, leg and wing bones, and any smaller fragments. The neck, if your turkey came with one, is particularly valuable because it’s dense with collagen-rich connective tissue. For chicken, save every bone from the carcass including the backbone and wing tips that often get removed before roasting.
For a ham-centered holiday meal, the ham bone with any remaining meat attached makes a different but equally excellent broth, producing a smoky, deeply savory liquid that’s exceptional for bean soups, split pea soup, and braised greens.
The skin adds richness and, in the case of a well-seasoned holiday bird, carries a good amount of the seasoning flavor into the broth. Leave it on the carcass and add it to the pot. Pan drippings, if you didn’t use them all for gravy, are liquid gold and worth adding to the pot as well. They contain concentrated roasted meat flavor that enriches the broth considerably.
Vegetable scraps from the holiday meal prep are the other category worth saving deliberately. Onion skins and halves, celery leaves and end pieces, carrot tops and peels, garlic skins and papery cloves, parsley stems, thyme sprigs, and leek tops all contribute flavor to the broth without adding cost. Many home cooks keep a bag in the freezer year-round for exactly this purpose, adding vegetable scraps from regular cooking and then using them whenever a bone broth batch goes on. The holiday meal produces more of these scraps than almost any other cooking occasion, making it the ideal moment to put them to work.
One category of vegetable to avoid: brassicas like broccoli, cauliflower, and cabbage can give the broth a bitter, sulfurous flavor when cooked for long periods. Leave those out and use anything else from the allium, carrot, and celery families without concern.
Three Ways to Make Bone Broth
The method you choose depends largely on your schedule and what equipment you have, since all three produce excellent results. The key variable is time, and all three require enough of it to genuinely break down the connective tissue in the bones.
Stovetop Method
The stovetop is the traditional approach and the one that gives you the most control. Place your bones in the largest heavy-bottomed pot you own, a Dutch oven or large stockpot works well, and cover them with cold filtered water by at least one to two inches.
Bring the pot to a gentle boil over medium-high heat, then immediately reduce to a low, steady simmer. Skim off any grey foam that rises to the surface during the first twenty to thirty minutes of simmering. This foam is coagulated protein from the bones and removing it produces a cleaner, clearer finished broth. Add your aromatics, onion, celery, carrot, garlic, peppercorns, and whatever fresh or dried herbs you have, and simmer uncovered or very loosely covered for a minimum of eight hours. Twelve to sixteen hours produces a noticeably richer result. Longer is better, up to about twenty-four hours, after which the flavor begins to level off.
Keep the simmer gentle throughout. A rolling boil causes the fat and proteins to emulsify into the liquid, producing a cloudy, greasy broth rather than a clear one. Low and slow is the principle that applies here as much as it does to any braised meat.
Slow Cooker Method
The slow cooker is the most hands-off approach and the best option for an overnight cook. Load your bones and aromatics into the slow cooker, cover with cold water to just below the max fill line, and cook on low for eight to twelve hours. If you’re adding fresh vegetables or herbs, add them for the last hour or two of cooking to prevent them from becoming bitter or overpowering.
The slow cooker method produces excellent broth with almost no active attention required, which makes it ideal for the day after a holiday when you’d rather not stand over a stove. The result may be slightly less reduced than a stovetop broth cooked uncovered, but the gelatin content and flavor are comparable.
Instant Pot or Pressure Cooker Method
For a faster result, an Instant Pot or similar electric pressure cooker can produce a bone broth in two to three hours that approximates the depth of a much longer stovetop broth. Load the bones and aromatics, cover with cold water to just below the max fill line (never fill a pressure cooker above two-thirds capacity), and pressure cook on high for two hours with a natural release of at least thirty minutes afterward.
The Instant Pot method produces a well-flavored broth with good body, though some cooks find that a long stovetop or slow cooker broth has a marginally deeper flavor from the extended time. The Instant Pot is the best option when you want excellent results without committing to an all-day or overnight cook.
Straining, Cooling, and Storing
Once the broth has finished cooking, the process of getting it from pot to storage requires a little care to ensure the best result.
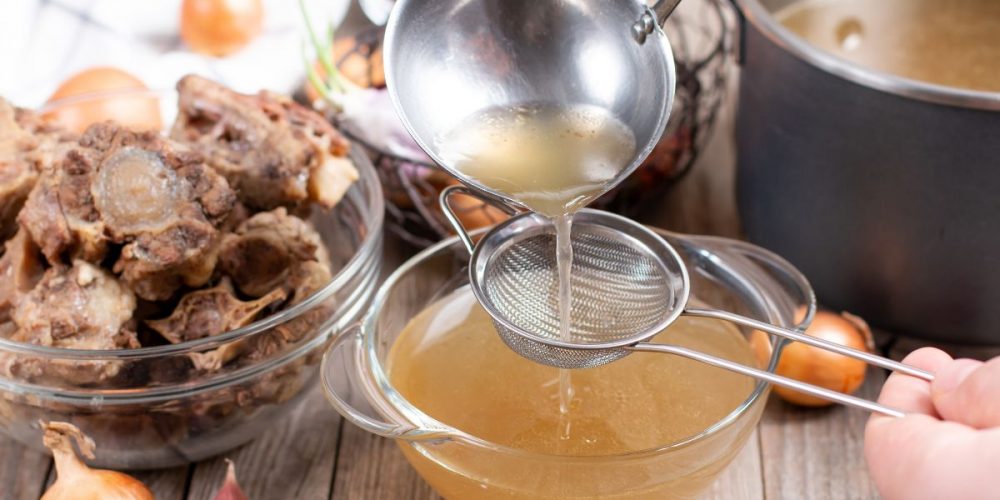
Strain the finished broth through a fine mesh sieve into a large bowl or heat-safe container, discarding all the solids. The bones, vegetables, and aromatics have given everything they have to the broth by this point and are not worth eating. If you want a very clear broth, line the sieve with a piece of cheesecloth or a clean kitchen towel before straining.
Cool the broth as quickly as possible before refrigerating. The most effective method is an ice bath: set the bowl of hot broth in a larger bowl or your kitchen sink filled with ice water and stir it occasionally until it reaches room temperature. Cooling quickly before refrigerating prevents bacterial growth in the warm liquid and produces a better-quality finished product. Once at room temperature, transfer to jars or containers and refrigerate.
After refrigeration, a well-made bone broth will have a solid layer of fat on the surface and a gel-like or fully set consistency beneath it. The fat is easy to remove by simply lifting it off the surface once solidified, or it can be stirred back in if you prefer a richer broth for cooking. The gelatinous texture is the sign that the broth is exactly what it should be, high in collagen, deeply flavored, and genuinely different from a thin, watery store-bought product.
Refrigerated bone broth keeps for five days. Frozen, it keeps for up to six months and should be frozen in practical portions: one-cup and two-cup amounts in freezer bags frozen flat are the most convenient for pulling out exactly what a recipe requires.
What to Make With It
Holiday bone broth made from a turkey or chicken carcass works as a one-to-one substitute for any recipe that calls for chicken broth, and its flavor is noticeably superior in every application. Turkey bone broth in particular has a richer, deeper character than standard chicken stock, which elevates simple preparations significantly.
The most obvious use is soup. A pot of turkey noodle soup made with homemade bone broth the day after Thanksgiving is one of the best arguments for making the broth in the first place, and it uses both the broth and whatever meat remains on the carcass that you picked off before starting. Beyond soup, bone broth adds enormous depth when used as the liquid for cooking rice or grains, as the base for pan sauces and gravies, as the braising liquid for the budget cuts of meat covered in the previous article in this series, or as a warm drink on its own with a pinch of salt and a squeeze of lemon.
Ham bone broth is particularly well-suited to braised beans, split pea soup, and any recipe where a smoky, savory depth of flavor is welcome. It makes a remarkable pot of lentils, and it turns a simple weeknight soup of canned white beans and wilted greens into something that tastes like it simmered all day.
One batch of holiday bone broth, made from bones that cost nothing because they were already paid for, produces enough liquid to meaningfully enhance a week or more of home cooking. Stored in the freezer in portioned bags, it extends that reach considerably further. It is, by almost any measure, one of the highest-return cooking projects available to a home cook who wants to extract maximum flavor and value from a holiday meal.
The Bottom Line
Making bone broth from holiday leftovers is not a complicated or time-consuming project in the active sense. It requires about fifteen minutes of hands-on work and then a long period of the stove, slow cooker, or Instant Pot doing everything else. What it produces is a liquid that costs almost nothing to make, wastes nothing that would otherwise have gone in the bin, and elevates every soup, braise, grain dish, and sauce it touches for weeks afterward.
Save the carcass, add cold water, and throw in whatever aromatics are within reach, and let time do the work. That’s the entire process. The result is one of the most genuinely useful things to come out of a holiday kitchen, and it starts with what most people throw away.