Most kitchens have what could generously be called a history problem. Somewhere behind the newer items you’ve bought recently are older ones you forgot about, duplicates of things you already had, and a few mystery jars that have been there long enough to lose their labels. Fall is the most useful time of year to confront that reality, because it marks a real shift in how most households cook. The lighter, fresher meals of summer give way to soups, stews, braises, and baked goods, and the pantry needs to reflect that transition to actually be useful for the months ahead.
A seasonal pantry audit isn’t a deep clean for its own sake. It’s a practical exercise in knowing what you have, making sure it’s still good, identifying what’s truly missing, and ensuring that nothing you already paid for gets quietly lost at the back of a shelf until it’s past its best. Done once at the start of fall, it takes less than an hour and typically saves more than it costs, both in reduced waste and in grocery spending that becomes more targeted because you know exactly what you’re starting from.
This guide walks through the process step by step, with specific guidance on what to look for, what the expiration dates on shelf-stable food actually mean, and how to build a useful meal plan around what you find before you spend another dollar on new groceries.
Why Is Fall the Right Time for a Pantry Audit?
The seasonal timing of this exercise isn’t arbitrary. As the weather cools, cooking habits shift considerably. Pantry staples that barely got touched during summer months, dried legumes, canned tomatoes, stocks, grains, and warming spices, become daily essentials. Discovering in November that your cumin is stale or your lentils expired in April is a more expensive problem than discovering it in September, because you’ll need those things sooner and there’s more cooking ahead of you.
Fall also coincides with one of the strongest seasonal produce windows of the year. Root vegetables, winter squash, apples, and pears are all at their cheapest and freshest right now, which creates natural opportunities to stock up strategically. A pantry audit helps you know exactly how much storage capacity you actually have before you bring anything new in, which is a more useful piece of information than it might initially seem.
There’s also a food waste angle worth taking seriously. Pantries that stay disorganized tend to rack up waste in a predictable way: items get pushed to the back, forgotten, and eventually discarded once they’re well past useful. A single fall audit establishes the baseline that prevents that cycle from repeating for the next several months.
Step 1: Take Everything Out
The most important step in a useful pantry audit is also the one that most people skip: physically removing everything from the shelves and placing it somewhere visible before assessing it. Pulling items forward and peeking at the back of a crowded shelf doesn’t give you an accurate picture of what’s actually there. Items fall behind each other, similar packaging makes duplicates invisible, and the mental shortcut of “I think I have some of that” replaces actual knowledge with confident guessing.
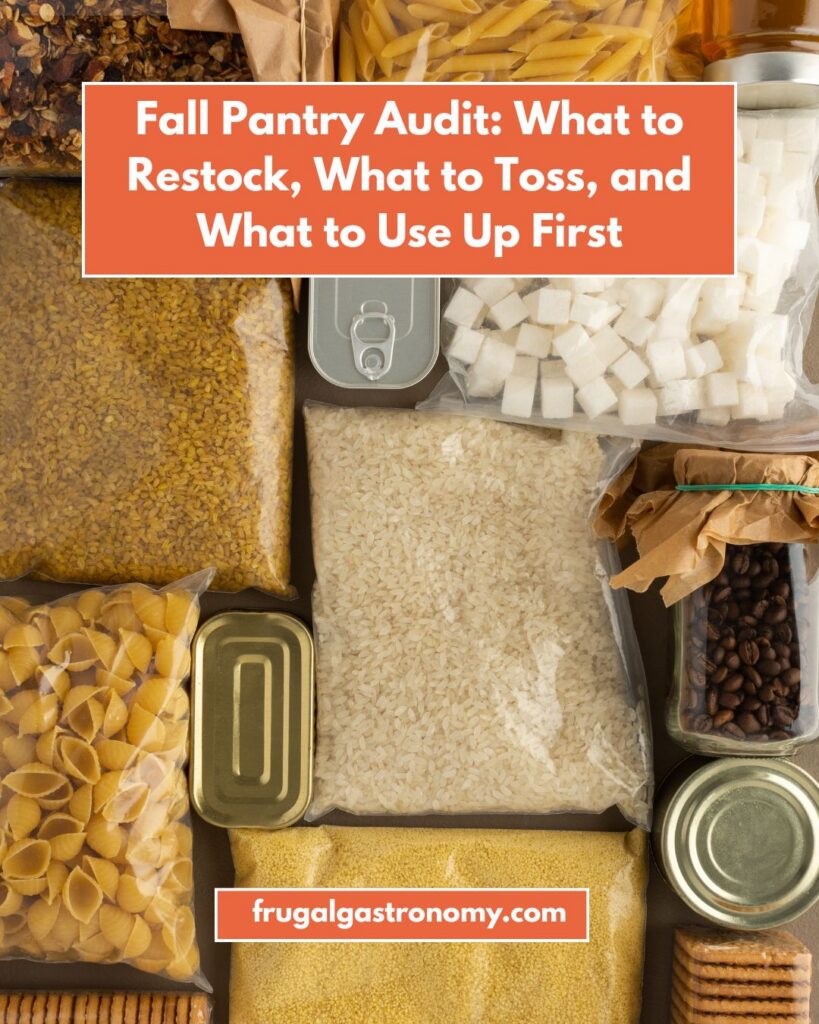
Take everything out, one shelf or section at a time if that feels more manageable, and lay it out on a table or counter where you can see it all at once. Group similar items together as you go: all canned goods together, all grains and pasta together, all oils and condiments together, all spices and dried herbs together. This grouping alone typically reveals the most common pantry audit finding in most households: duplicates in some categories and complete gaps in others that weren’t visible when everything was crammed onto a shelf.
The full picture is the only useful one here. A surface-level tidy, where you straighten what’s visible and leave the back of the shelf alone, tends to miss exactly the things a pantry audit is meant to catch. Discovering you already have pumpkin pie spice from last fall, for example, means that jar doesn’t need to go on the shopping list regardless of how empty the shelf looked before.
Step 2: What Does a “Best By” Date Actually Mean?
With everything out and grouped, go through each item and check two things: the date on the packaging and the actual quality of the food inside.
Understanding what date labels actually mean is genuinely useful here, because most households treat “best by” and “use by” dates as equivalent expiration markers, and they’re not. “Best by” dates are quality indicators, not safety cutoffs. A can of tomatoes past its best by date is not spoiled or unsafe. It may have lost some flavor or color quality, but it’s still perfectly usable in a cooked dish. “Use by” dates, on the other hand, are stricter and more relevant to fresh and refrigerated items. For shelf-stable pantry goods, a product that smells, looks, and tastes normal is generally fine to use even if it’s past a best by date, with a few exceptions: infant formula, any item with visible rust, swelling, or damage to the packaging, and perishable items like nuts and oils that can go rancid.
Check your cooking oils by smelling them. Rancid oil has a sharp, bitter, slightly paint-like smell that’s unmistakable once you know what to look for. If an oil smells off, it needs to go regardless of the date on the bottle. The same applies to nuts and seeds, which go rancid relatively quickly once opened and stored in a warm pantry rather than the refrigerator or freezer.
Check your spices and dried herbs by opening each container and sniffing. Spices don’t technically expire in a way that makes them unsafe, but they lose their potency considerably over time. A dried herb that smells like very little when you open the jar has lost most of its flavor and won’t do much in your cooking. The conventional wisdom on dried spice shelf life is roughly one year for ground spices and two to three years for whole spices, though storage conditions matter a great deal. Spices kept in a dark, cool cupboard away from the stove hold their potency longer than those stored in a rack above the oven, where heat and steam degrade them continuously.
Step 3: Sort Into Three Categories
Once you’ve assessed everything on the table, divide your pantry items into three groups before anything goes back on the shelf.
- Use up now: Items within their quality window but won’t be for much longer, a jar of pasta sauce a few months past its best by date, a partial bag of rice that’s been open for a while, a can of coconut milk bought for one recipe six months ago. These go at the very front of whatever shelf they’ll live on, and ideally get worked into the next two weeks of meal planning before anything newer gets reached for.
- Keep and reorganize: Items in good shape that simply need to go back on the shelf properly, newest at the back, oldest at the front. This is the FIFO method (first in, first out) used throughout food service. Labeling items with the purchase date using masking tape and a marker takes seconds and eliminates the guesswork that leads to well-intentioned items getting forgotten.
- Discard or donate: Anything genuinely expired, anything that smells, tastes, or looks wrong regardless of date, and anything you can honestly say your household won’t use before it deteriorates. Unopened, still-good items that don’t fit your cooking should go to a food bank rather than the trash. Most food banks accept non-perishable items that are within their date, so clearing clutter and feeding someone who needs it becomes a straightforward win.
Step 4: Clean the Shelves Before Restocking
With the shelves empty, wipe them down before putting anything back. Pantry shelves accumulate fine dust, crumbs, oil residue from bottles that have leaked slightly, and occasionally small pest attractants that you’d rather deal with before stocking up for winter. This doesn’t need to be a deep clean with multiple products. A damp cloth, a few minutes, and dry shelves before anything goes back on them is all that’s required.
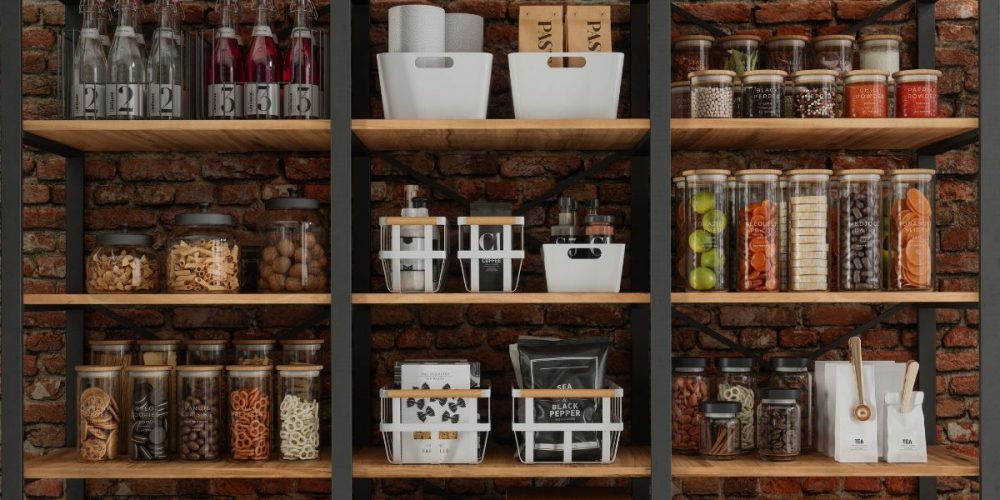
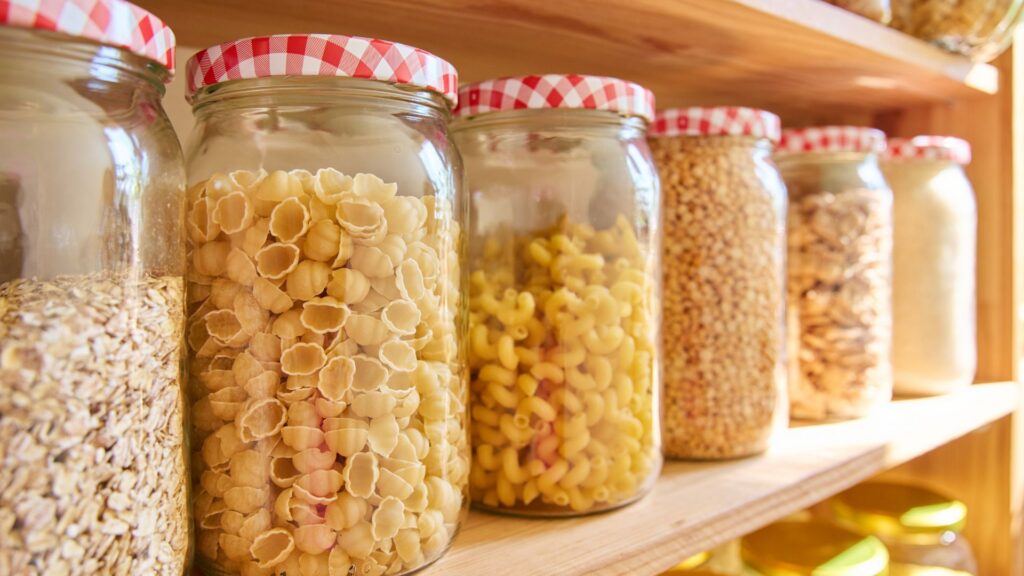
If you’ve discovered evidence of pantry pests, small moths in dried goods or tiny black beetles in flour or oats, deal with it before restocking. Discard any affected items, clean the shelves thoroughly, and store all future dry goods in airtight containers rather than their original packaging. Airtight containers are one of the more impactful pantry upgrades available for households that keep a stocked pantry year-round. They extend the shelf life of dry goods by blocking moisture and oxygen, and they make pests functionally impossible to establish since there’s no entry point into the food.
Step 5: What’s Actually Missing From Your Fall Pantry?
Now that you have a clear, accurate picture of what you have, you can identify what’s truly missing with a precision that a standard “I need to pick up a few things” shopping trip never produces. Write a specific list organized by category: what needs replenishing because it ran out, what needs replacing because it went bad, and what’s missing from the fall cooking you want to do that you didn’t have in the first place.
The categories most commonly identified as depleted or missing in an autumn pantry audit include:
- Warming spices: cumin, smoked paprika, cinnamon, and nutmeg in particular
- Dried legumes: lentils and chickpeas see the most use in fall cooking
- Quality stock or bouillon
- A reliable cooking fat, like olive oil or butter, that may have been depleted during a summer of heavy cooking
These are the items worth adding to a grocery list before the heavier cooking of fall and winter begins in earnest.
Step 6: Build Meals Around What You Found First
Before your pantry is restocked with new purchases, the most budget-efficient next step is to spend one to two weeks building meals specifically around what you already have, particularly the use-it-now items from Step 3 and anything that was at the bottom of the pile and clearly hasn’t been reached for in a while.
This “use-it-up” week or two is an effective budget move because it converts food you already paid for into meals that would otherwise require new purchases, lowering your grocery spend for that period to just fresh proteins, dairy, and produce while the pantry handles the rest. A partial can of coconut milk, a bag of red lentils, some dried spices, and a can of tomatoes are the foundation of a simple red lentil curry that costs almost nothing incremental to make. A can of cannellini beans, some pasta, canned tomatoes, and dried herbs are most of a pasta e fagioli. The pantry audit gives you an accurate inventory from which to cook creatively for a week before spending anything new.
The Bottom Line
A fall pantry audit is a one-hour investment that pays dividends through the most cooking-intensive months of the year. Clear the shelves, check the dates honestly, sort what you find into use-now, keep, and discard piles, clean before restocking, and build your first week of fall meals around what’s already there. Done once a season, that sequence is enough to keep a home kitchen genuinely organized and useful all the way through to spring.